Showing posts with label Holidays. Show all posts

Wednesday, January 4, 2012

Christmas in a Cup!

So I know its been a while but things get busy around the holidays, plus some of the things I wanted to post were Christmas presents I made and I didn't want anyone knowing ahead of time what they were getting so. Here I am, I'm back! So at Thanksgiving I made Christmas in a cup for Grandma and I. It is so delicious. So weather you are missing Christmas or didn't get a chance to do this while it was here use up some of that leftover hot chocolate because we still have a lot of winter ahead of us.

Directions:
Make some nice warm hot chocolate- your favorite brand
Throw in a scoop or two of peppermint stick ice cream
EAT IT UP! 
Its soooooooooo good!
Once you try it you'll agree with its name!  Yum!

Thursday, October 27, 2011

Scaredy Cat Brownies

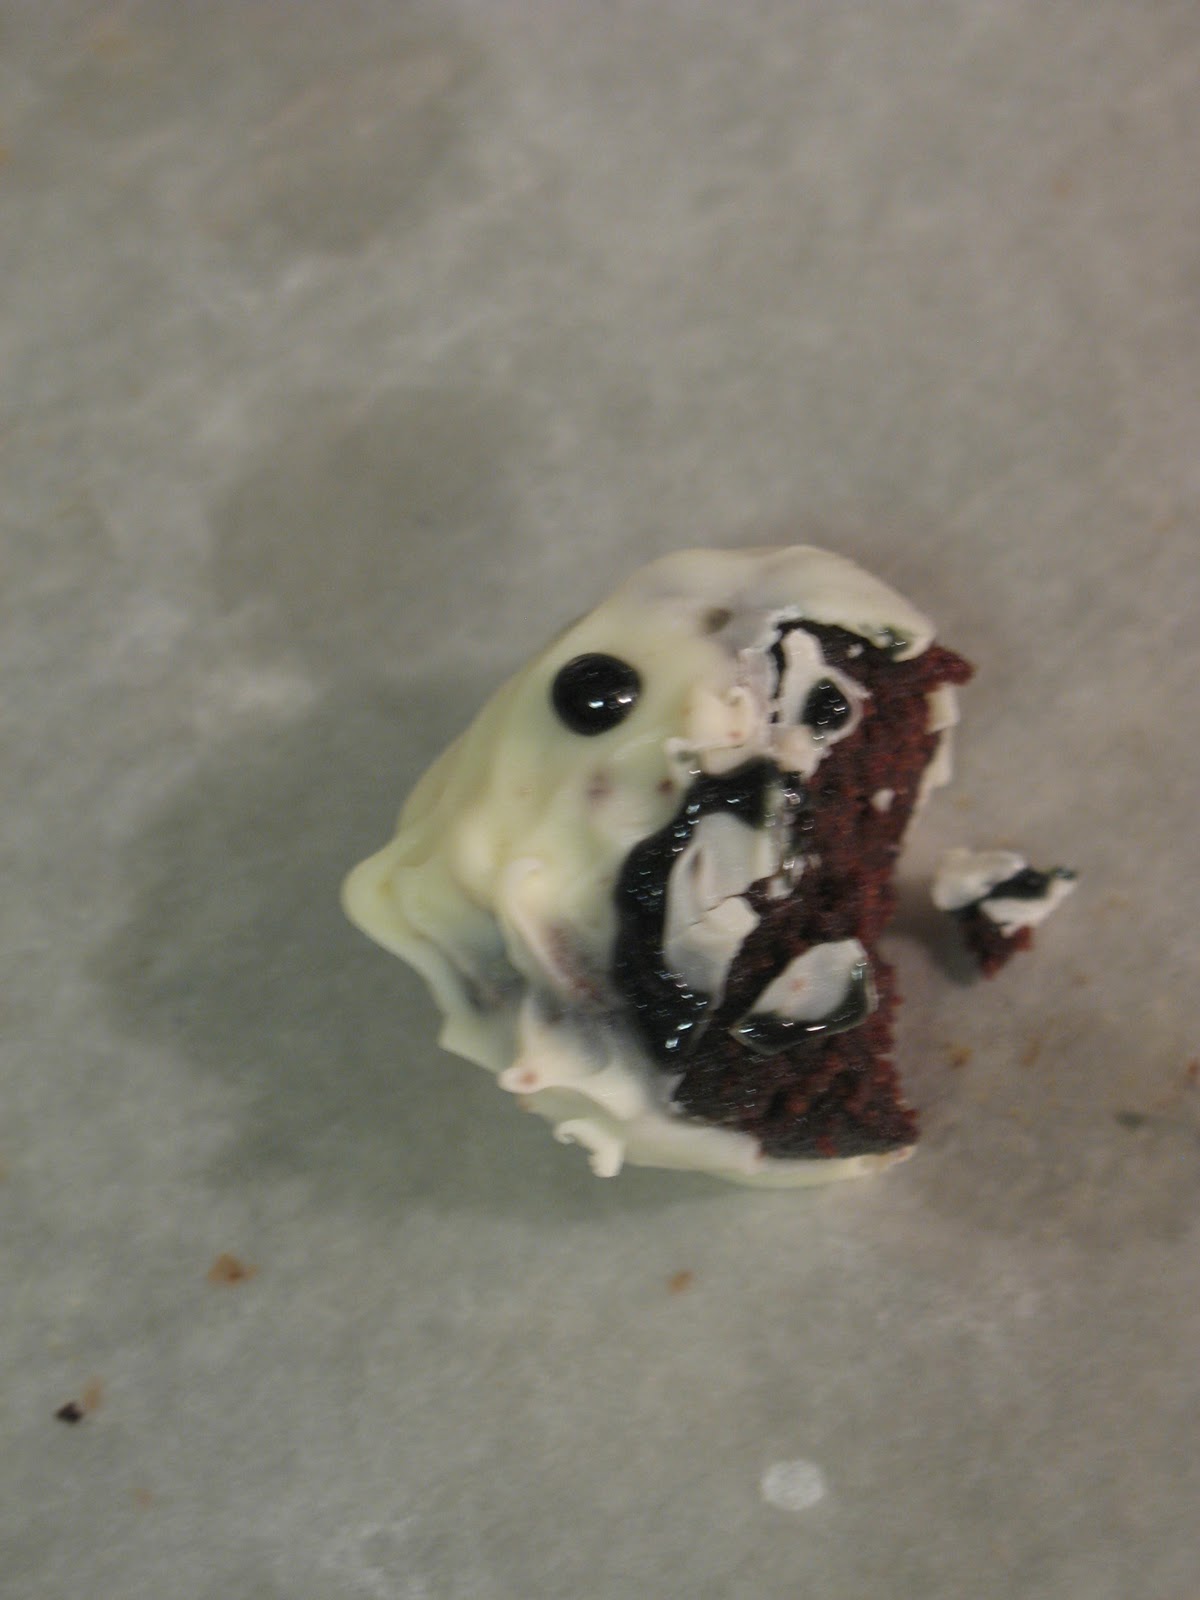
 Yesterday at school we celebrated my daughter's birthday! Since her birthday is so close to Halloween she chose to taken in a scarey treat to share! I showed her these Scaredy Cat Brownies and she loved them! For the receipe I will once again send you over to the Martha Stewart Everyday Food blog. In that recipe she has you make brownies from scratch and include mint patties in the middle of the brownies as well as on top for the cat faces. I decided to take the easy path and just use a brownie mix and do the cats on top.
I used a 9x13 pan and managed to squeeze 20 cat faces per pan. This was ok since I was making them for 5 and 6 year olds. If I were making them for adults, I probably would have only done 15 per pan so they could be a little bigger brownie bites.
 For as high maintenance as it looks, they actually went quite fast. When you put the mint patties on top of the warm brownies they will start to get a little melty, which is then the perfect time to place the candy eyes and chocolate chip ears on the bats. Once the patties are completely cooled then you can use the gel frosting for the mouth.

Happy Haunting with some spooky treats!

Wednesday, October 26, 2011

No carve pumpkin decorating!

 So again Alicia comes through with a litltle craft of her own.  She got these little pumpkins 5 for $3 at Walmart and decorated them with different types of paper and markers.
 This is a nice way to decorate without using those big scary knives used for carving.
The look like Little Witches!  So cute! 
Plus its very fun to have tiny pumpkins all over the house, decorated or not!

Thanks again Alicia

Tuesday, October 25, 2011

Candy Corn Craft

 I have seen these cute candy corn yarn decorations before so this year I decided it was time to try making them! I had a weird experience while making them, it was easier than expected, yet harder than expected. Let me explain...

These little darlings, don't actually use any glue. The styrafoam acts as velcroe and holds the yarn well enough while you start wrapping the the multiple layers of yarn. When I was done with one color I would leave the end sticking up into the area of the next color so as I was wrapping the next color it would secure it. When I got to the top and was finished wrapping the white, I took the end and poked it into the top of the foam with a pencil.


I used the cheapest yarn I could find at Walmart, although I will say the orange wasn't that cheep. They didn't have a shade of orange that I liked in the cheapest brand, so I had to go a step up.


The foam cones I found at Jo-Ann's and I had a coupon. Good thing since they cost more than I thought they would.

This project took me about two hours to complete, mostly because I was watching television while I was doing it. As you can see in this picture if you are looking at the cone from above you can see the top is still green, I think I will paint the top of the cones white with some acrylic paint so it blends better.


You can really make as many as you want, or just one, I just tend to like odd numbers of different sizes. They are super cute! I can't decide if they will be a center piece of my table, or on my fireplace mantle. Suggestions anyone?

Wednesday, October 19, 2011

More Cheesecloth Ghosts!

I cannot take credit for the creation of these cute little ghosts but only for taking the pictures. These were created by my very artistic and creative aunt Alicia. She is alwyas creating cute decorations for her house. I love them!
I thought these were both spooky and classy at the same time!
She said all she did was place the glue covered cheese cloth over small plastic cups with a ball of plastic wrap at the top (to create the rounded head).  Then she placed black construction paper eyes on the wet cheescloth and waited for them to dry.  She decided to hang them from the ceiling light.  They are so cute!!

Look at them- what a cute little ghost this is!
Thanks Alicia!


Tuesday, October 18, 2011

Halloween Matching Game!

I have become more of a digital scrapbooker, therefore my large scrapbooking supply has mostly been relaxing in a box, a few pieces being used as cards when I find the time to create them.  Well I decided to throw together some of my cute halloween paper and some die cut packs I had and create this Halloween Matching Game

I decided to go against the norm and use two different papers in order to make it a little easier for kids to play.  Therefore they choose one candy corn card and one spooky night card, thus narrowing down the choices a little more.

Not only is it adorable but it is so fun to play and a cinch to make.

A little added bonus is that you can piece the parts together to make a puzzle so its more like 2 games in one.  Seems like the perfect activity to keep the kids occupied when they ask you at 2pm if its time to go Trick or Treating yet!!
How I made it.
1. Cut the 12x12 paper into 6 equal pieces (I did this with 4 pages, 2 of each- a total of 24 cards)- You could put them all on the same paper of course!
2. Glue die-cuts to the backs one match on candy corn and one match on spooky- you could draw pictures or print out clip art if you didn't have die cuts or cut your own with your cutting machine!
3. I laminated it to make it nice and sturdy to keep year after year
4.  Then We played!

Friday, October 14, 2011

Simple Halloween Craft

A friend of mine called me up the other day and asked if I would be interested in doing an easy Halloween craft with my kids, because she had some extra supplies from doing it with her granddaughter. I said sure and off I went to pick up the supplies. What was the craft you ask? Pumpkin jars! (My kids are having so much fun painting!!)


Here are the supplies you need: jars of different sizes and shapes (preferably without labels), orange acrylic paint, black acrylic paint and spray mod podge.


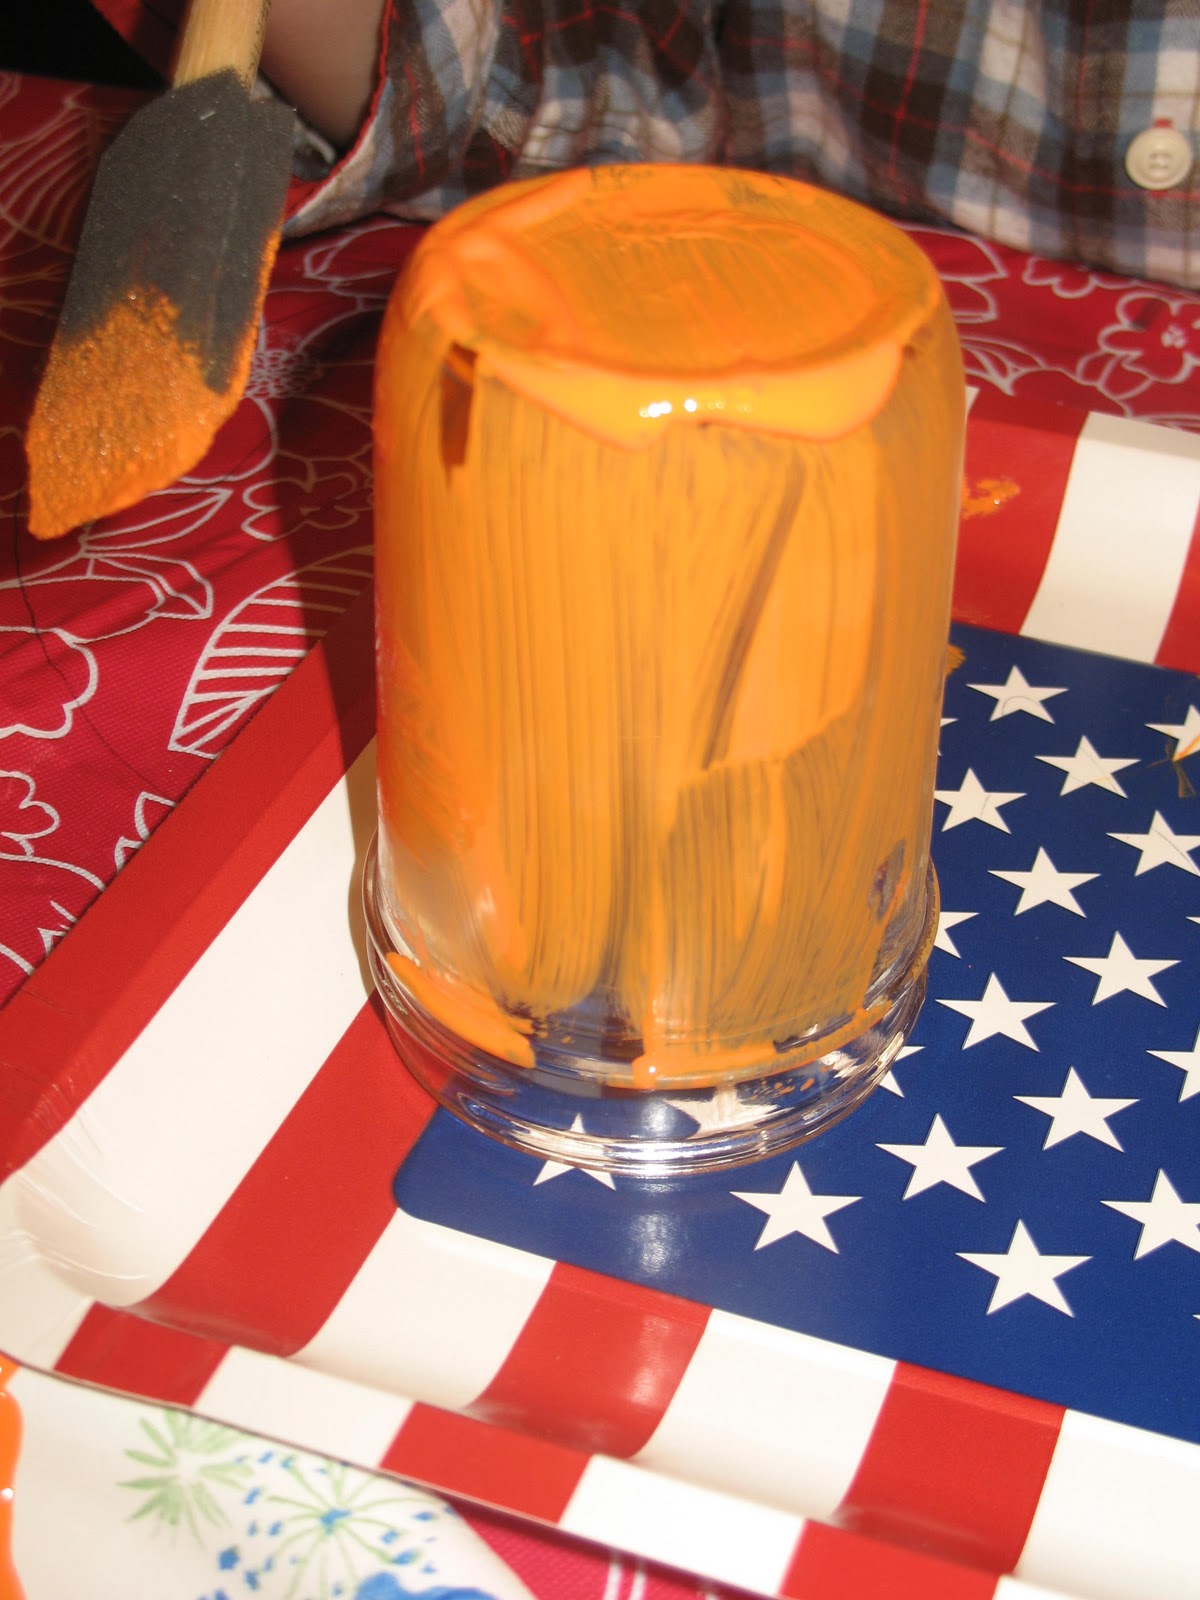
First you paint the jars orange, you can use a brush or your fingers! :)


Then you paint the tops of the jars black. 


Once the orange paint dries you then paint your faces on the "pumpkin" (We practiced different faces on paper before actually painting them. I also laid the jars down next to the paper so my daughter could see about the size she had to work with.)

                   
After the face dries then spray the "pumpkin" with the mod podge. This will help the paint not to chip and give it a nice sheen since the acrylic paint is flat.

Now we made a mistake while doing ours. I had the jars upside down as we painted the orange on them so that we could paint the bottom of the jar, but when it came time to paint the faces, I forgot to turn them right side up. So when you make yours, just remember the lid should be on the top of the pumpkin to act as it's stem. I think even though they are upside down they are still pretty cute on my porch! And it is always fun to do an activity with your kids, especially when it is a manageable activity with only 4 steps and no sharp knives!!

I went to Walmart and bought some battery operated tea lights in the Christmas section. I will put  one tea light in the small jars and two in the big jars. You'll have to forgive our camera, it isn't fantastic, but you get the idea about them glowing. 

Another great thing about these pumpkins is that they won't spoil and start to rot in a few weeks, you can keep them for year after year!! 

Monday, October 10, 2011

Halloween Cake Balls

 At my house we are VERY into Halloween! So I definitely am very excited to be making and taking treats into my daughter's Kindergarten class many times this month!

This week I decided to bring in a not-so-healthy snack on Monday. This is what greeted the kids today... Ghost heads and Monster Eyes!!! Spoooooookyyyy! These adorable Halloween treats are called cake balls. They are a new fad in desserts these days and the directions I used can be found here.


I used a Devil's food cake mix and milk chocolate frostings for the cake balls, and white melting chocolate to cover them. I also found the awesome sparkly black gel in a tube at Walmart in the cake decorating section!
Cake balls are pretty easy, but do need to made with plenty of time before the event you are preparing them for as there is chill time involved multiple times in the process. I used 1 cake mix and was able to make about 54 cake balls. If you are a big pinterest fan as I am, you will be able to find lots of cute cake balls and cake pops on there for every holiday!

I couldn't resist trying one before I send them off to school! Yummy!

Stay tuned for more treats. Wednesday it is my turn to take in the HEALTHY snack for school, and it also is a Halloween theme!

Friday, October 7, 2011

Halloween DIY


These cute Halloween decorations can be made very quickly and very cheaply. They are simply, used bowling pins (donated to me by my local bowling alley) cheese cloth, black paint pen, mod podge, and  brown stain. It is as easy as it looks. 
I simply draped the cheese cloth on the bowling pin for the ghost. I did put a dab of mod podge on his head to keep it in place. And his face is on the bowling pin, NOT the cheese cloth.
The mummy is wrapped in cheese cloth strips with mod podge painted on the bowling pin. After it was wrapped up I dipped a paper towel in some stain and rubbed it all over the mummy to make it appear to be dirty.  Simple and fast!!

Monday, February 14, 2011

Valentine Bingo and Memory

 So in honor of Valentine's Day.  Heres a little Bingo game I created for my students to play at a center during the week of Valentine's Day.  We had three different boards (so they couldn't all win at the same time).  It also allowed for them to have to find the pictures on their own-which was a little more difficult for some students than others. 
 I had all the pictures on individual cards so that I could show the picture to the students who needed a little extra help or whose goals involved matching.  If I had a more advanced group I would say the word and wait for them to find the picture.  Then I would show them the picture and ask if they found the right one!
I made two sets of the cards so that we could play a memory game if we wanted to.  They really enjoyed this as well plus I figured if I was going to go through all the effort to find the pictures in the first place I might as well use them for two different games.  Both games were good because it allowed the students to learn words they might be hearing around the Valentine's Day holiday.  It helped them build up their vocabulary and associate specific things with the holiday.    You might also notice that each child has all the pictures.  Bingo doesn't always work like that but since we weren't just playing for fun but to learn as well, I wanted each child to have all the words and need to find all the pictures.  After we were done we would take off the candy on each square one by one and repeat back the words that were paired with the pictures- a little extra review of the new words! Oh how I love making learning fun and so nicely disguised. 

Just a little fun and basic activity- I think I might be playing either memory or bingo tonight with my little family for valentine's day.  I figure I might as well.  Does it surprise anyone that today is one of those days when I miss being a classroom teacher!  Oh I loved holiday themed centers.
Happy Valentine's Day!

Thursday, February 10, 2011

Shout Out!


I just had to interrupt my typical topics to give a little shout out to my sweet husband.  What a cutie.  Starting on Monday I have received homemade valentines from him.  Monday it was in the refrigerator when I got my cereal.  Tuesday it was in the roll of toilet paper and flew out as I unrolled it -Very creative.  Wednesday there was one on my car window and today i went into the bathroom to find this!!
A cute decorated mirror.
A valentine with a treat.  What a sweetie.   I feel so blessed to have such a great supportive husband.  He has always helped me with my dreams and desires.  He has helped me make things and set up my classrooms.  He has been a regular volunteer at all the schools I have worked at.  He has helped me brainstorm and create things I am not quite able to do on my own.  He is incredible in so many ways. 
Go make something sweet for your special Valentine Today!!

Tuesday, February 1, 2011

Crafty

I can be creative...at times.  Most of my creativity is best developed through the use of computers- graphic design, photography etc.  Some of my friends on the other hand are just plain crafty. 


I came across this gem that my friend Meredith made with her little girl (check out her blog for other cute crafts she has done-baby decor, reupholstered chairs etc.)  I love it! This is the perfect February decoration.  I just love how its just a random mix of reds and pinks and hearts and tags.  If I still taught in a classroom or my little guy was big enough to cut I would have my students make this with me (you can bet we will be making one in the near future!).  Its excellent for fine motor development, just trace some hearts hand them the paper and let them go to town. Then you can get your creative juices flowing and fill in the gaps.  Go ahead Moms, especially if you are living in the east and anticipating some more snow- what a perfect inside activity.

Wednesday, January 26, 2011

Have a listen!

So I am going to brag here for a moment.  I attended Brigham Young University for my undergraduate work in special education.  It was terrific.  An amazing amazing program with incredible professors.  Well one of my professors (my favorite) sorry its true, I think the rest of the faculty would understand- is one of the guests on this little audio clip. Katy Steed- is amazing.  I learned so much from her. (And you will too as you listen to this clip.) As I have taught and consulted I have used so many of the things I learned from her.  Over the years I have come to understand that some teachers just "have it"-Katy clearly "has it".  Having it is all the difference between an amazing special educator and just a teacher.  Its hard to describe what "having it" means, I like to think I "have it".  Some of the words that come to mind are- intuition, dedication, desire, consistency, drive, creativity, understanding, connection, motivation, love, joy (pure joy), and something that I hope to someday put my finger on but I guess I could describe it as anytime you see, hear, read about, teach or interact with one of these special individuals with disabilities you just beam, you get the chills and the excitement of a little child all at the same time, you want to hug them and learn everything you can about them and do anything and everything to help them.  It just so hard to describe but thats just what I mean about "having it."  Maybe its like catching the bug....and I've caught it-bad!!!!  Thanks for being such a great teacher Katy and thanks for this amazing clip. 

I think anyone who hears this will find something helpful.  Although the winter holidays have passed I think this can give parents, educators, friends etc a glimpse into how to make any type of schedule change or holiday a little more smooth for those around us.  Particularly those with Autism.

LinkWithin

Related Posts Plugin for WordPress, Blogger...